


Universitetsavisen
Nørregade 10
1165 København K
Tlf: 35 32 28 98 (mon-thurs)
E-mail: uni-avis@adm.ku.dk
—
Science
With this new set of do-it-yourself biology experiments we have you making your own blue cheese, ripening your green tomatoes, and more
[This article has been updated September 2020. It was first published in November 2015)
Tired of making the same old food? Do you want to learn some new bio-techniques to upgrade your cooking skills? Impress your friends the next time you ask them over to dinner.
We can’t really guarantee that any of it is really good, or even edible. But it is fun, and will get everyone thinking about some elementary biology.
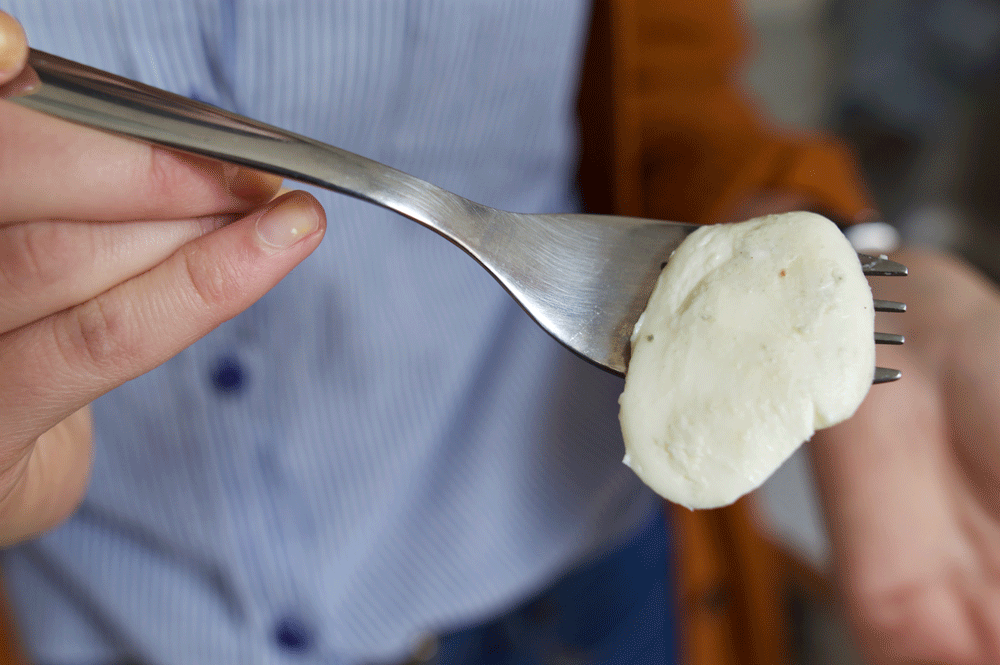
What you need: non-blue cheese (e.g. mozzarella, elemental, cheddar), blue cheese (rochefort, danblue, gorgonzola etc.), and a container.
Take a piece of the blue cheese and scrape it on the cheese you want to “personalise”. Place the piece in a sealed container and leave it at room temperature for 2-3 days. You can also keep it in the fridge, but it will take longer to turn your cheese blue.
Explanation: Blue cheese is blue because of the coloured fungus Penicillium roqueforti growing in and eating the cheese. Introducing the fungus to another cheese is essentially letting it feed on a new ‘dish’. You could call it fungal contamination. I prefer to call it new flavour.
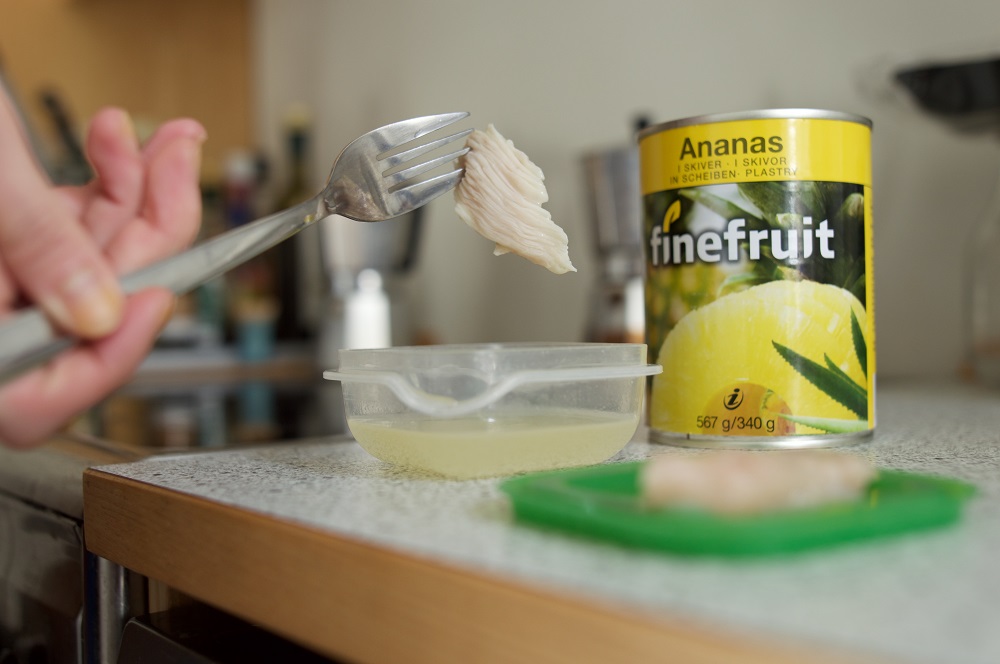
What you need: canned pineapple, meat, and two containers.
Place two meat pieces into two different containers. In one of them add the juice from the canned pineapple, but don’t add anything to the other one (that’s the control of your experiment). Cover the containers in order to avoid smell! Within one day you will see that the pineapple-soaked meat is slightly changed in colour and getting softer than the non-treated meat.
Explanation: The pineapple juice contains two different enzymes commonly known as “bromelain”. These cut the collagen proteins that ‘stiffen’ meat into smaller pieces, which softens it. However, if you want to go all Breaking Bad and dissolve meat from a dead body, we do not recommend using pineapple juice! It’ll just tenderise your victim – hydrofluoric acid is a stronger and a better option to get rid of the evidence.
What you need: green tomatoes and one ripe banana.
If you’re stuck with green tomatoes and aren’t armed with the patience to wait for them to turn red here’s the solution: Place a mature banana or a banana peel next to those unworthy tomatoes and wait (less time) for it!
Read more: Five do-it-yourself chemistry experiments
Explanation: For a fruit to mature a volatile (flying) hormone known as ethylene is needed. This hormone is released by ripe tomatoes, apples, pears and bananas. By placing a ripe banana next to a green tomato, the ethylene from the banana activates the maturation process in the tomato! Cool right? That’s why a lot of the vegetables and fruits are harvested while green and once they get to the store are treated with ethylene, so they can start maturing at the exact time of selling. Don’t panic, it’s not harmful!
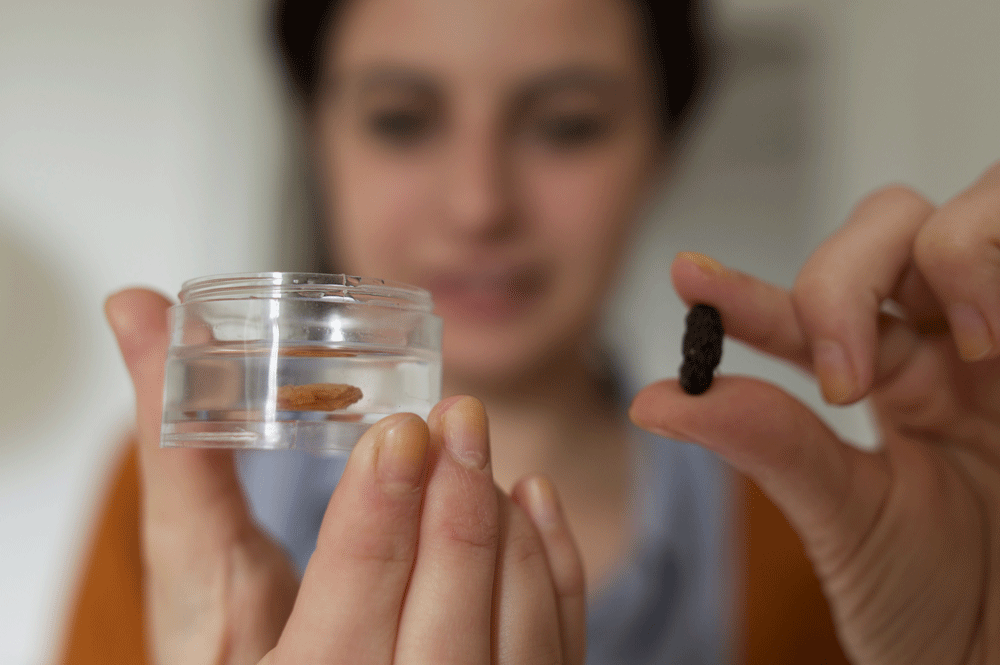
What you need: water, raisin, and a container.
Well, according to the laws of thermodynamics: not really. You can, however, try to rehydrate your raisin. Have you ever wondered what happens if you place a raisin into a container with water? Try! It will swell, but unfortunately never return to its grape-glory days again. But who doesn’t like swollen raisins?
Explanation: The grape basically swells with water. There is more salt inside the grape that in the water. The process by which water travels from low salt conditions to high content ones across a barrier is known as “osmosis”. The water moves in order to dilute the salt concentration in the grape achieving the same salt conditions on both sides (equilibrium stage). This process happens all the time! If you spend too long in the bath, the water moves into your cells and your fingers wrinkle up. Yes, you are saltier than the water you’re bathing. This of course raises the following question: if you stay too long in salt water, and this is saltier than you, will you lose water? Think about it!
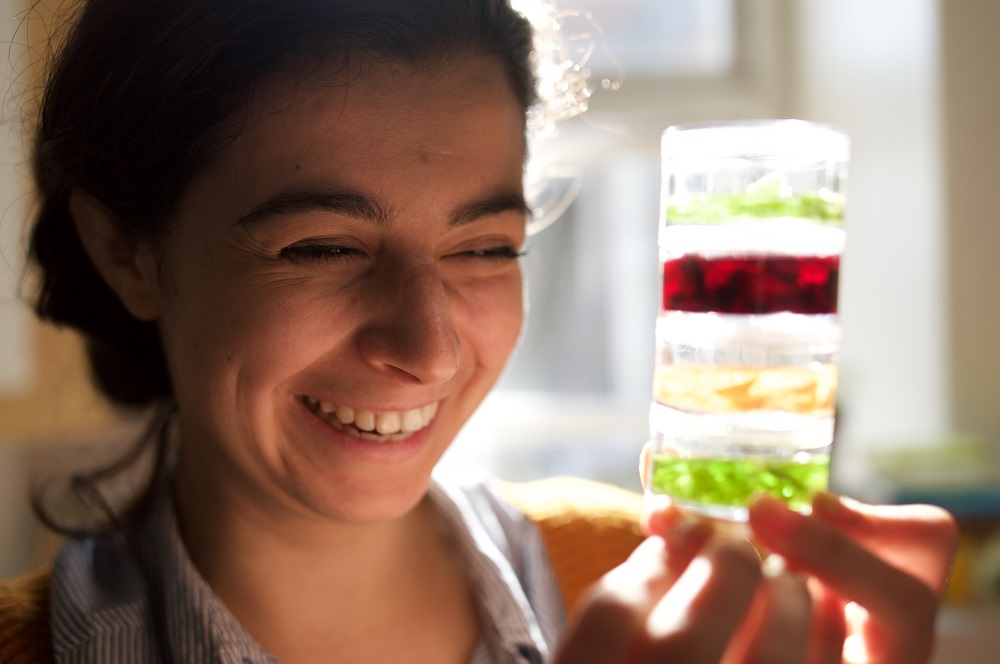
What you need: green leaves, carrot, red cabbage, 90-96% alcohol, and lastly (you guessed it!) containers.
Cut the leaves, carrots and cabbage into small pieces. Place them into different containers with enough alcohol to cover them up. Wait for some hours and soon you will see that the alcohol is dyed green, orange or purple. However, we do not recommend you to use them as organic food “colourants” for your cake topping!
Explanation: The pigments chlorophyll, carotene and anthocyanin are the pigments responsible for the colour of leaves, carrots and red cabbage respectively. They are normally stored in “cell deposits” known as plastids. These get disrupted by alcohol, releasing the pigments contained by the plastids. What you might not know is that normally all these pigments are present in all leaves, but the green pigment is present in higher amounts. When it is not actively produced by plants in the autumn, the rest of the pigments present in the leaf become visible – that’s why leaves change colour in the autumn.
Read more: Five biological experiments you can do at home
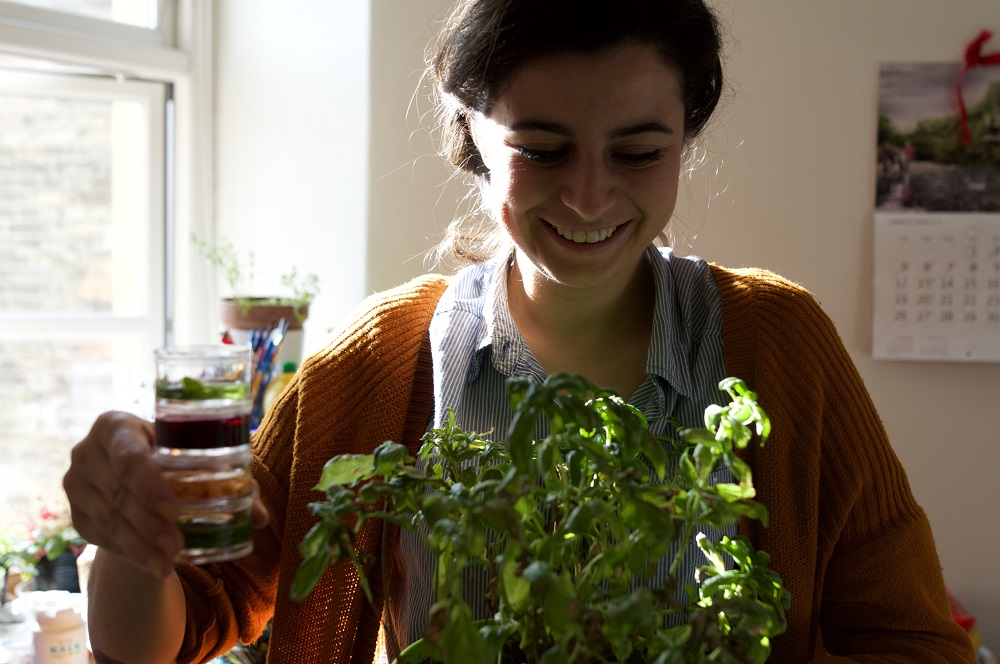
Bonus question: You might now be wondering why your mojito does not turn green from the chlorophyll in the mint leaves? The alcohol used in mojitos (rum) has a comparatively low alcohol content (40%), so it takes much longer to destroy the chloroplasts. Either you need to start drinking much slower. Or you need to start drinking something much stronger!
universitypost@adm.ku.dk
Like us on Facebook and follow us on Twitter for features, guides and tips on upcoming events.